How to Make Bracelets with Beads (Step-by-Step Guide)
Never made a bracelet before? Good. That’s exactly who we made this for. We’ve taught hundreds of kids and adults how to string their first piece. The secret isn’t a complex technique — it’s having the right elastic, and knowing one specific knot. Let’s start.
What you actually need
You don’t need a massive craft room to do this. You need a flat table, about 15 minutes, and four basic things. If you buy materials individually, do not compromise on the elastic cord thickness.
5 Steps to Your First Bracelet
We use the Surgeon’s Knot method. It’s the only knot we trust to hold up after you stretch the bracelet over your hand 50 times.
Measure and cut the cord
Wrap the elastic cord around your wrist to check the size, then add about 3 inches (7 cm) to both ends. You need this extra length to tie the knot comfortably later. For an average adult, cut a 12-inch piece of cord. For a child, 10 inches is usually plenty.
Do not pre-stretch the cord. Quality 0.8mm elastic doesn’t need to be stretched out before you start.

Secure one end
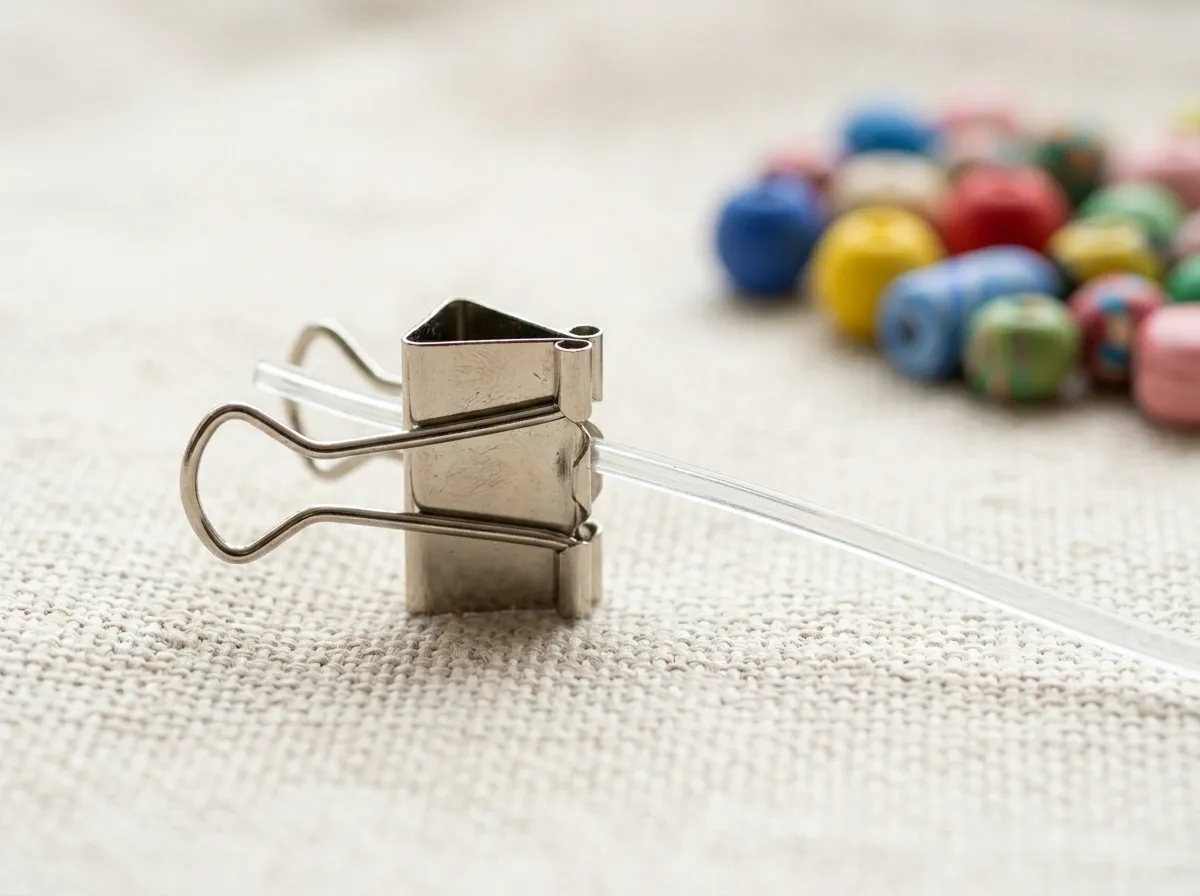
There is nothing worse than stringing 40 beads and watching them slide straight off the other end onto the floor. Take your binder clip (or a piece of masking tape) and attach it to one end of the cord, about 2 inches from the tip. This creates a stopper.
Thread the beads
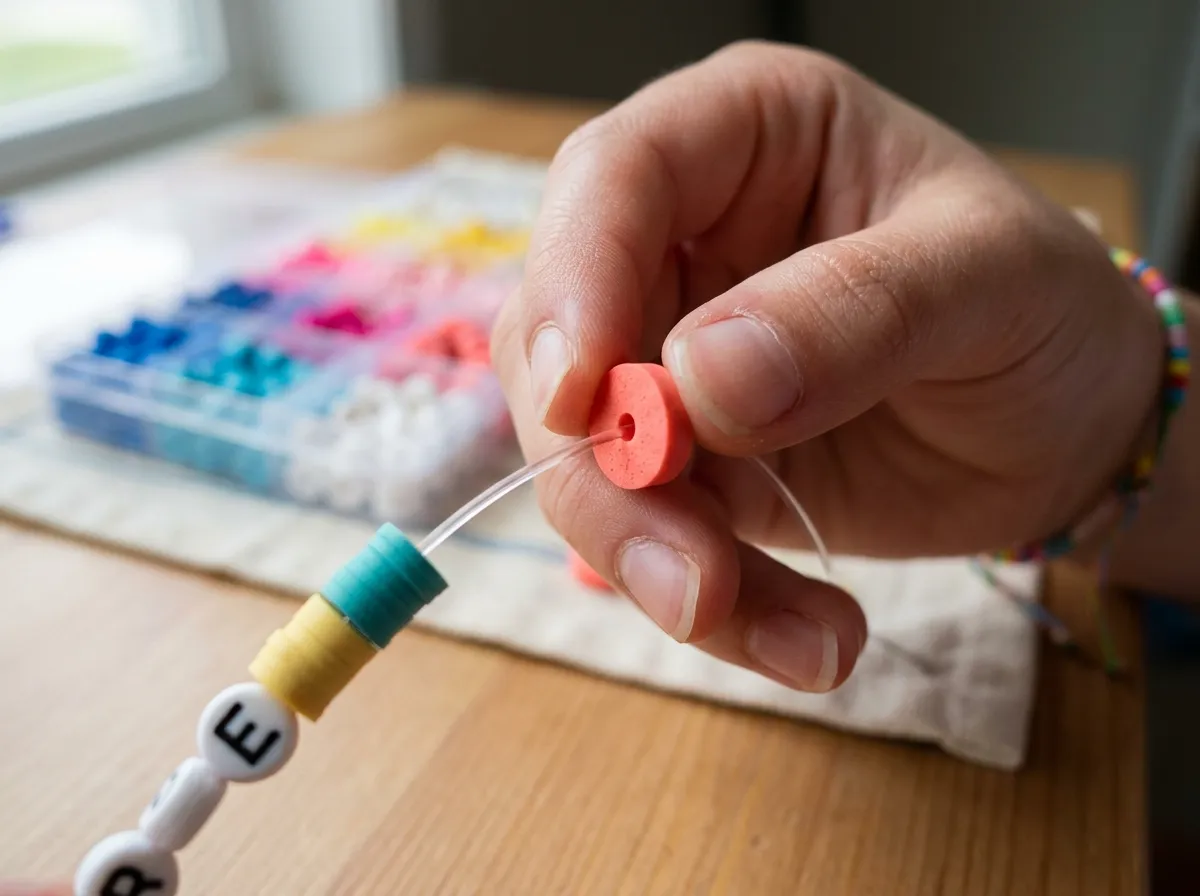
Now, build your design. If you’re using letter beads to spell a name, remember to thread them backwards if you are stringing right-to-left, or just lay them out on the table first. Keep adding beads until the beaded section wraps comfortably around your wrist without pinching.
Need design ideas? See our 15 bead bracelet patterns for beginners.
Tie the Surgeon’s Knot
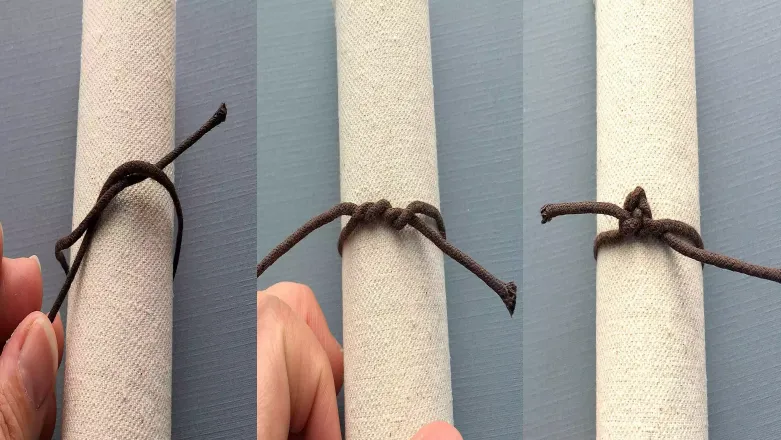
This is the most important step. A regular knot will slip undone. Here is how you tie a Surgeon’s Knot:
- Remove the binder clip. Hold one end of the cord in each hand.
- Cross the right end over the left end, and tuck it under (like the first step of tying your shoes). Pull gently.
- Now, do it again: cross the right over the left. But this time, tuck it under twice before you pull.
- Pull both ends firmly. You will feel the knot lock into place.
Trim and hide
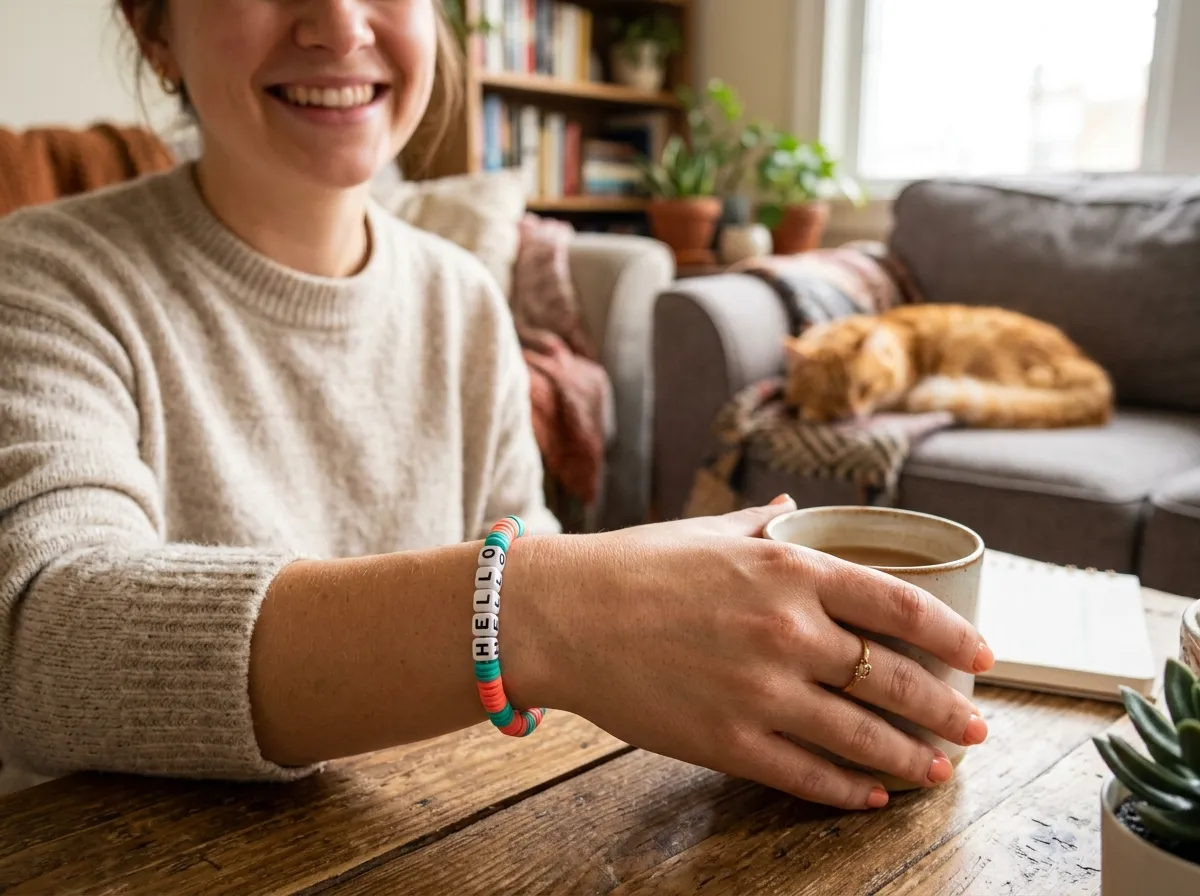
Take your scissors and cut the extra cord, leaving about a 2mm tail. Do not cut right against the knot, or it might unravel over time. Finally, slide the nearest bead directly over the knot to hide it. That’s it — you’re done.
Things beginners always ask
Should I use glue on the knot?
If you use 0.8mm elastic and tie a Surgeon’s Knot properly, you don’t strictly need glue. However, if you are making this for a very active child, placing one tiny drop of super glue or clear nail polish directly on the knot before you hide it adds a great layer of security.
How many beads do I need for one bracelet?
It depends on the size of the beads. For standard 6mm to 8mm acrylic beads, you generally need between 25 and 35 beads for a child’s bracelet, and 35 to 45 for an adult. This is why we pack enough beads to make 50+ bracelets in a single kit.
Skip the prep work
We packed 5,000 beads, 0.8mm tested elastic, and all the tools you need into one organized box. Pick your colors, thread the first bead, and see what you make.
Grab a Beadlo Kit →