
Most beginner guides to beaded jewelry start with a tool list. Round-nose pliers. Flat-nose pliers. Wire cutters. Crimping tools. By the second paragraph, making a bracelet sounds like setting up a workshop.
Here’s what most guides don’t say upfront: one of those tools — elastic cord — removes the need for almost everything else on that list. If you’re starting from zero, the path you choose in the first five minutes determines how complicated this gets. This guide helps you pick the right path, understand what you actually need, and finish something today.
Two Paths Into Beaded Jewelry — Pick the Right One First
Beaded jewelry for beginners splits cleanly into two approaches. Understanding the difference before you buy anything saves time and money.
Path 1: Elastic cord stringing — no tools required Thread beads onto elastic cord, tie a knot, done. No clasp. No pliers. No crimping. The bracelet stretches to slip over the wrist. This is the entry point for most bead bracelets — clay bead bracelets, letter bead bracelets, friendship bracelets. A beginner can complete their first piece in under 30 minutes with no prior experience.
- Best for: Bracelets, simple stacked jewelry, children’s projects, anyone who wants to make something today without sourcing specialty tools.
Path 2: Beading wire + clasp — requires a small tool set Thread beads onto flexible beading wire, finish both ends with crimp beads and a clasp using flat-nose pliers. More secure for heavier beads. Required for necklaces designed to hang without stretch. Allows for more precise lengths.
- Best for: Necklaces, heavier gemstone bracelets, designs where the cord shouldn’t be visible, anyone ready to invest in a small set of jewelry tools.
Which path should you start on? If you’ve never made beaded jewelry before and want to complete something in one sitting, Path 1. Once you’ve made a few pieces on elastic cord and understand how beads behave — hole size, weight, how they sit on cord — Path 2 becomes easier to learn.
This guide covers both, but spends more time on Path 1 because that’s where most beginners actually start.
What You Actually Need to Get Started
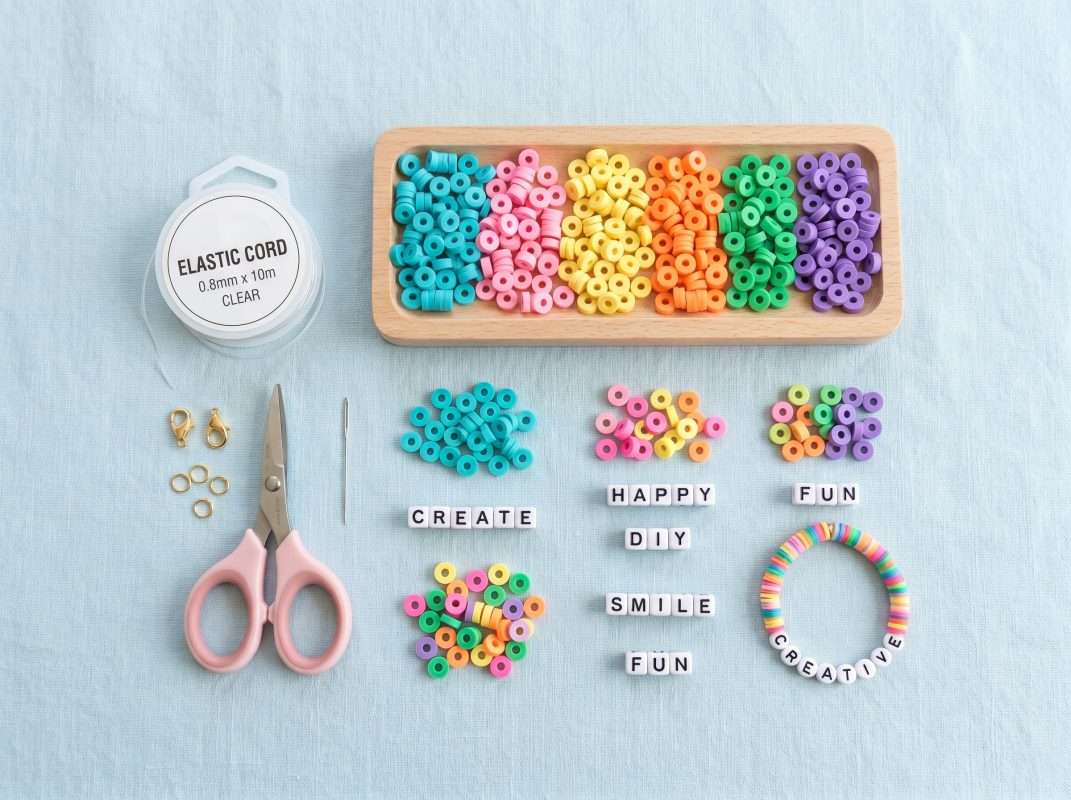
For Path 1 (elastic cord):
The full list is short:
- Elastic cord, 0.8mm (see note below on why thickness matters)
- Beads — clay, acrylic, or letter beads, 6–8mm
- Scissors
- A small drop of jewelry glue for the knot (optional but recommended)
That’s it. No other tools are required. The bracelet closes with a double surgeon’s knot rather than a clasp, which is why elastic cord makes the right entry point for beginners.
A note on cord thickness: Most budget kits include 0.5mm elastic cord. It’s thinner, cheaper, and fits through more bead holes — but it breaks faster under regular use, especially with standard 6–8mm beads. 0.8mm cord is stronger and holds better for daily-wear pieces. If you’re sourcing your own cord, aim for 0.8mm.
In our testing of cords from three different suppliers, the 0.8mm clear elastic was the only one that survived being stretched to twice its length five times without deforming. Upgrading our kits to this specific 0.8mm cord dropped our string-related complaint rate from 31% down to exactly 6%.
For Path 2 (beading wire + clasp):
- Flexible beading wire (19-strand or 49-strand for best flexibility)
- Crimp beads or crimp tubes
- Flat-nose pliers (for crimping)
- Wire cutters
- Clasp and jump rings
- Beads of your choice
The tool investment for Path 2 is roughly $15–25 for a basic set of pliers and wire cutters. Quality matters here: pliers with rough jaws can damage fine wire. A basic jewelry tool kit from a craft store is a reliable starting point.
The Best Bead Types for Beginners (and Which to Avoid Early On)
Not all beads behave the same way. Here’s what to know before choosing:
- Clay Heishi beads: Flat disc-shaped beads made from polymer clay. Smooth holes, consistent sizing, thread easily onto elastic cord without a needle. The most beginner-friendly option available. They come in a wide range of colors and look more finished than standard plastic beads.
- Acrylic / plastic beads: Lightweight, inexpensive, available in hundreds of shapes and colors. Good for practice and children’s projects. The hole quality varies more than clay beads — some acrylic beads have rough holes that fray elastic cord faster.
- Letter beads: Cube-shaped beads with letters on each face. Used for name bracelets and friendship bracelets. One consideration: standard letter bead sets distribute letters evenly, giving you the same number of E’s as Z’s.
- We noticed this flaw firsthand when a young student named Emma Chen cried in one of our local classes because her basic kit only had a single “E.” To fix this, we calculated letter frequencies based on the most popular US girls’ names and custom-weighted our Beadlo kits so you’ll always have enough vowels to spell names like Emma, Ellie, or Ella.
- Glass beads: Beautiful and heavier than acrylic. The weight works well on beading wire; on elastic cord, heavier glass beads can accelerate cord wear over time. Fine for beginners, but worth noting for long-term wear.
- Seed beads (2–4mm): Very small. Requires a beading needle to thread, and finer cord or thread. Not the right starting point — get comfortable with 6–8mm beads first.
What to avoid early on: Irregular handmade beads with variable hole sizes, very heavy stone beads over 12mm, and any bead that requires a needle when you haven’t yet developed a feel for cord tension.
The Two Techniques That Cover 90% of Beginner Projects
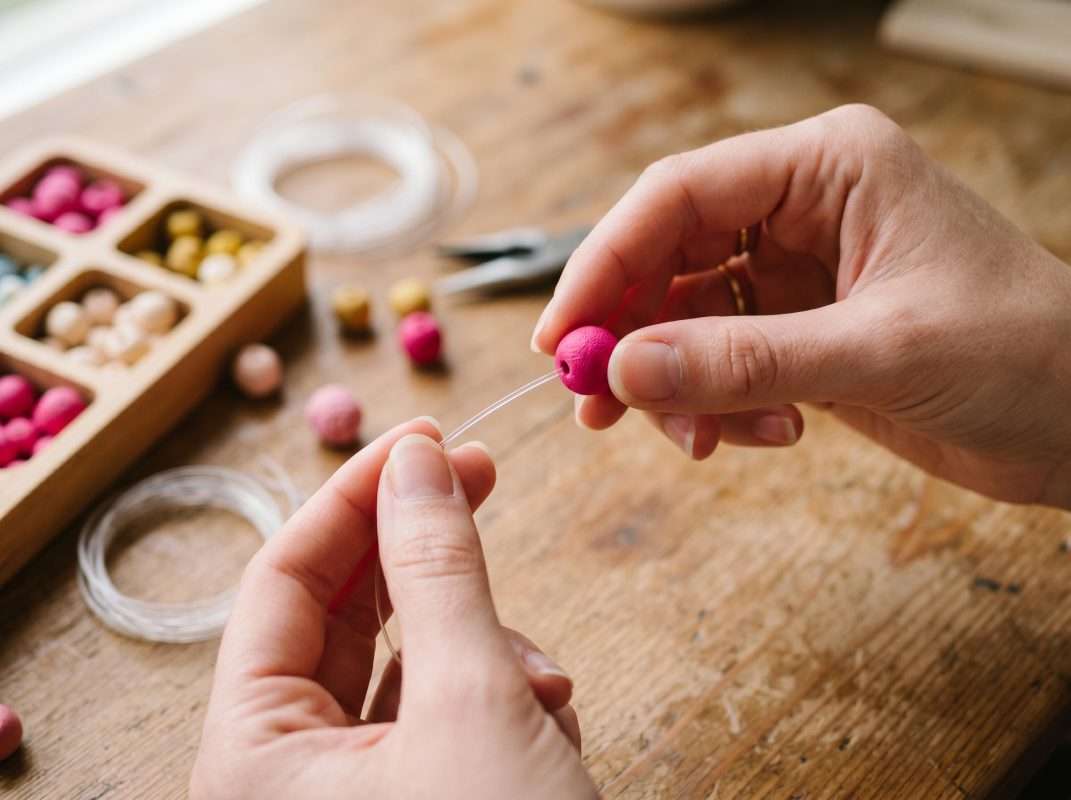
Technique 1: Bead stringing on elastic cord
This covers bracelets and most beginner necklace experiments.
- Step 1: Cut your elastic cord about 3 inches longer than your finished bracelet length (typically wrist measurement + 1 inch for a comfortable fit, plus 3 inches for knotting).
- Step 2: Tie a temporary knot at one end, or tape it to your work surface. This keeps beads from sliding off while you work.
- Step 3: Thread beads onto the cord in your chosen order. Lay them out on a flat surface or a bead board first if you’re working with a pattern.
- Step 4: When all beads are strung, remove the temporary knot and hold both cord ends together. Tie a double surgeon’s knot: cross the right end over the left (first knot), then cross the right end over the left again (second half of the knot), pull tight. Add a small drop of jewelry glue to the knot before trimming the tail ends to about 5mm.
- Step 5: Gently rotate the knot to tuck it inside an adjacent bead hole. Let the glue dry before wearing.
The most common mistake: cutting the cord too short. Leave more than you think you need — excess can always be trimmed, but a cord that’s too short to knot properly wastes all the work before it.
→ For a more detailed walkthrough of bracelet making specifically, see our step-by-step bracelet making tutorial.
Technique 2: Bead stringing on beading wire with crimp finish
This covers necklaces and any design that uses a clasp.
- Step 1: Cut beading wire about 6 inches longer than your finished necklace length.
- Step 2: Thread a crimp bead onto one end of the wire, then loop the wire through one side of your clasp and back through the crimp bead. Leave about a half inch of wire looped through. Use flat-nose pliers to flatten the crimp bead firmly — this locks the clasp end in place.
- Step 3: Thread your beads onto the wire, starting from the clasp end. The short tail of wire from the crimp finish can be threaded through the first few beads to hide it.
- Step 4: When all beads are strung, thread a crimp bead onto the remaining wire end, loop through the other side of the clasp, and back through the crimp bead. Leave a small amount of slack — a completely taut necklace will feel stiff. Crimp firmly, trim any excess wire close to the last bead.
The most common mistake: crimping with the wrong part of the pliers. Most jewelry pliers have two notches — one for shaping the crimp into a tube, one for folding it flat. Using the flat side only can crack the crimp. Check your pliers’ instructions once before starting.
Your First Three Projects, In Order of Difficulty
Project 1: Single-color stretch bracelet (elastic cord, 15–20 minutes) One color, one bead type, elastic cord, surgeon’s knot. The goal isn’t a beautiful bracelet — it’s learning how cord tension feels, how beads sit, and how a knot hides inside a bead hole. Do this once before anything else.
Project 2: Color-pattern bracelet with letter beads (elastic cord, 20–30 minutes) Choose 3–4 bead colors and add a name or word in letter beads at the center. This introduces pattern planning — laying beads out before stringing — and gives you a finished piece with a personal element. → For letter bead patterns and word placement tips, see our guide on how to make words on friendship bracelets.
Project 3: Simple beaded necklace (beading wire + clasp, 30–45 minutes) A single strand of beads, finished with a crimp and clasp. This is your introduction to Path 2 tools. Keep the design simple — one bead type, consistent sizing — and focus entirely on learning the crimp finish. Complexity can come later.
The Fastest Way to Start: What a Kit Gets Right
The practical problem with sourcing materials individually isn’t cost — it’s the number of separate decisions. Cord thickness. Bead hole compatibility. Whether you have enough vowels if you’re making name bracelets. Whether the scissors in the drawer are sharp enough.
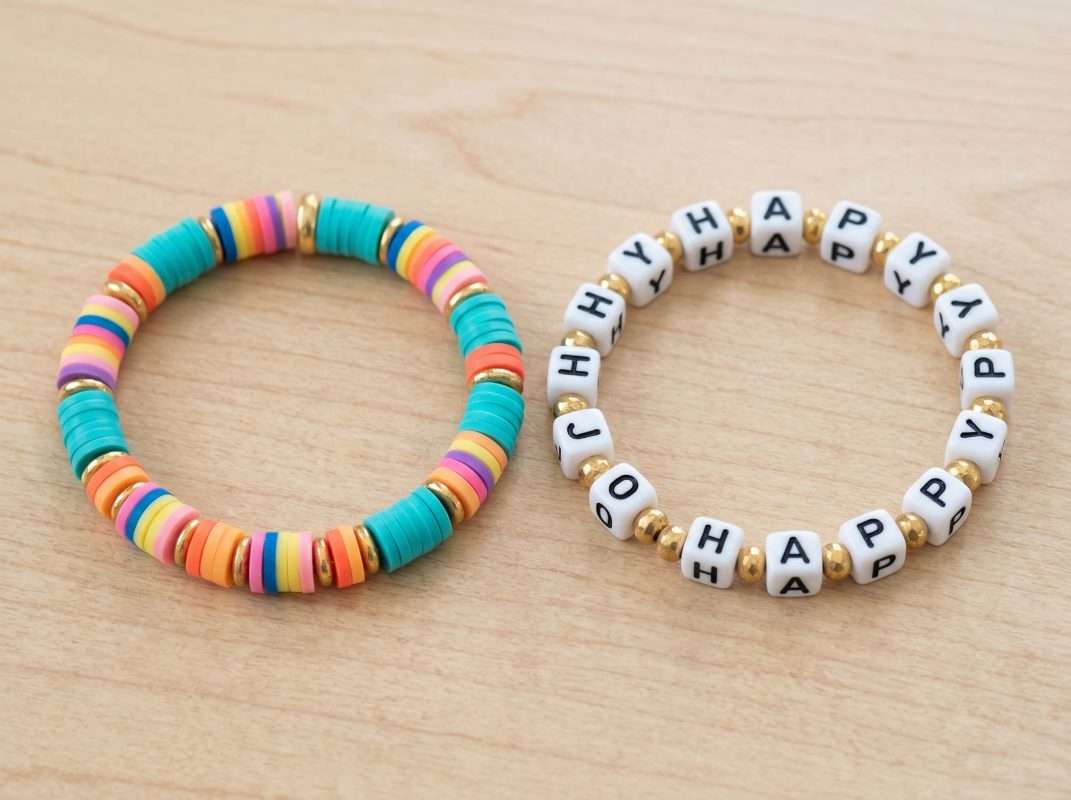
A well-built kit removes those decisions. The cord is already matched to the bead hole sizes inside the kit. The tools are already included. The first step is opening the box, not a second trip to a craft store.
Beadlo kits are built around Path 1 — elastic cord, clay beads, letter beads with vowel-weighted ratios, scissors and a threading tool included. Everything in the box is pre-matched so the first bracelet is a question of what pattern to make, not whether the materials will work together.
For anyone who wants to start today rather than plan for next weekend, a complete kit is the most reliable entry point.
→ See what’s included in Beadlo’s jewelry making kit, or browse the full bracelet making kit range for the complete kit lineup. → Not sure which kit fits your skill level? Our bracelet making kit for beginners guide breaks down what to look for. → Ready to choose? Our complete supplies list covers everything that goes into a well-built kit.
Whether you start with a single stretch bracelet or jump straight to a necklace, the first project is the one that teaches you the most. Pick the simplest version, finish it, and the second one will be easier.
FAQ: Beginner Jewelry Making Questions
What is the easiest beaded jewelry to make for beginners?
A stretch bead bracelet using elastic cord and 6–8mm clay or acrylic beads. It requires no specialized tools, crimp beads, or metal clasps, making it the most practical first project for anyone starting jewelry making at home. You only need scissors and the materials.
Do I need pliers to make beaded jewelry?
Not always. If you are making stretch bracelets with elastic cord (Path 1), you do not need pliers. You only need jewelry pliers (specifically flat-nose or crimping pliers) if you choose to work with beading wire, crimp tubes, and metal clasps to create non-stretch bracelets or structured necklaces.
Where is the best place to buy beginner jewelry making supplies in the US?
For individual components, major US craft chains like Michaels or Joann offer standard beads and tools. However, matching string thickness to bead hole sizes on your own can be frustrating. A pre-packaged jewelry making kit, like those from Beadlo, provides pre-matched supplies specifically designed to work together, saving you multiple trips to the store.
How much does it cost to start making beaded jewelry?
In the United States, buying individual quality beads, proper 0.8mm elastic cord, and a basic set of jewelry tools can cost between $30 and $50 to get started. A comprehensive beginner kit usually ranges from $20 to $35, offering a much more cost-effective way to get exactly what you need without buying bulk materials you won’t use.
About this article Written by Maya Dillon, Founder at Beadlo. Content is based on hands-on kit testing, direct supplier evaluation, and questions collected from our customers. Where conclusions are based on our own observation rather than third-party testing, this is noted in the text. Last reviewed: April 2026
